Lemon RX
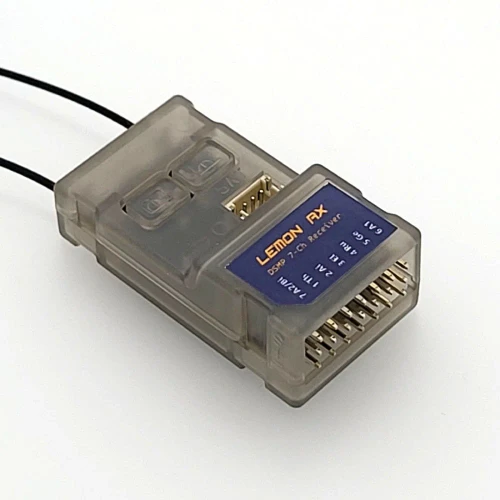
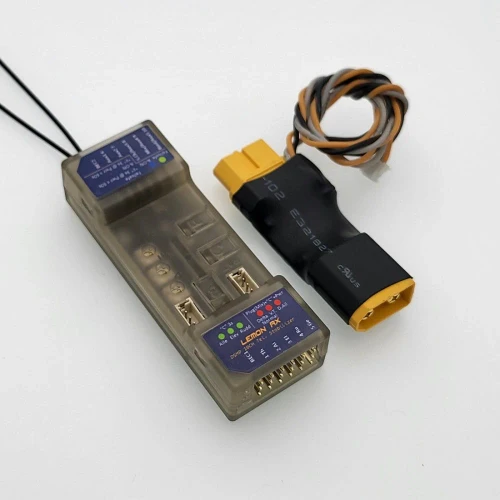
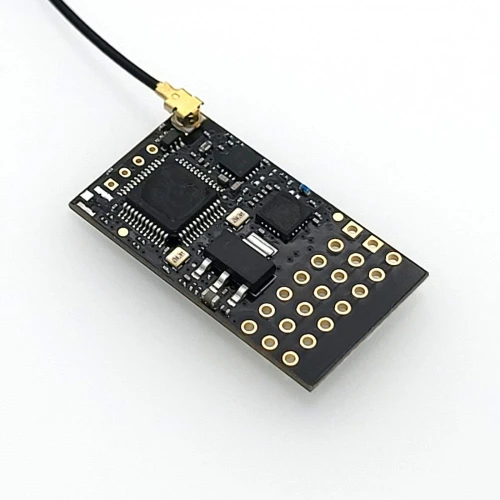
Lemon RX DSMP 7-CH Telemetry Stabilizer Receiver (DSMX/DSM2 Compatible)
$59.05
- SKU:
- LM0086VP
Product Specifications:
- Weight & Dimensions: 13.1 g, 55 x 15 x 23 mm
- Recommended Voltage Range: 3.9V to 8.5V (2S LiPo capable)
- Telemetry Option: Integrated with Barometer with Vario, Altimeter, Energy meter (Requires V/I sensor) and Internal Temperature Sensor
- Technology: DSMP with GEN2 SDR stack (DSMX / DSM2 compatibility)
Highlight
The generation 2 DSMP 7-channel telemetry stabilizer is a complete redesign that provides the ultimate reliability, features and performance.
- Choices of voltage and current sensors with exceptional capability
- XT60 / T-Plug: 5S LiPo (21V max), 60A max.
- Voltage Probe: 45V max.
- DSMX / DSM2 compatible, 7-channel full-range telemetry stabilizer with full telemetry features including a built-in barometer with vario, altimeter, energy meter (Current, Voltage, mAh), and internal temperature sensor
- High sensitivity gyro with proprietary stabilization algorithm ensures responsive airplane control for both electric and gasoline engine application
- Built-in Detla, V-tail and Normal Wing mixer
- Supports stabilization with separated channel dual aileron operation
- Stabilization always-on feature
- Real-time variable stabilization gain control on channel 8
- All-channel failsafe
- Firmware health monitoring software stack and ultra-low operational voltage (3.6V) ensure the highest hardware reliability
- Generation 2 SDR stack ensures the fastest channel searching and advanced algorithm for signal recovery with ultra-low-latency experience
- Antenna diversity improves the reliability of the wireless link
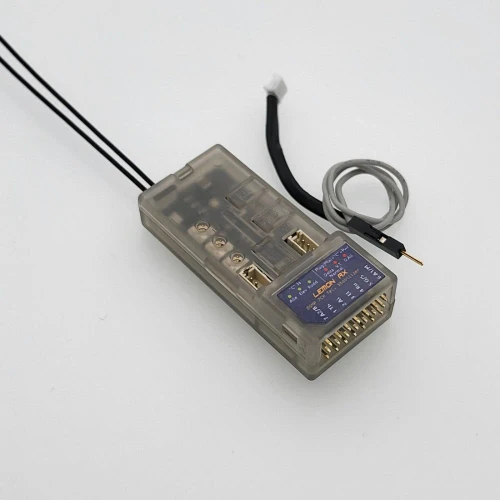
- Satellite port for additional signal diversity
- Gyro stabilization activation with either AUX2 or Gear channel
- 3 potentiometers for individual gain tuning
User manual
- - See: www.lemon-rx.com/manual
Quick Reference Guide
Reset stabilizer
- Connect power
- Hold F and B buttons (approximately 5 secs+) until all LED flashes randomly
- Press the C button. Multiple LEDs flash a few times to complete the operation
Bind with bind plug
- Insert bind plug on Channel 7
- Connect power
Bind without bind plug
- Connect power
- Hold the B button until the red LED flashes
Bind with a satellite without a bind plug
- Connect power
- Hold the B button until the red LED flashes
- Disconnect power
- Plug the satellite wire connector into the stabilizer
- Connect power
Failsafe
- Connect power to the receiver and ensure the servos are working with the transmitter
- Press the F button for 3 seconds until green changes from off to on and vice versa to change the failsafe setting
- Channel value is saved as failsafe default at the time the green LED turns on.
- Turn off the transmitter and wait 2 seconds to ensure the failsafe is activated accordingly by ensuring there is torque generated with finger-pushing the servo linkage if it was to be set. Vice versa.
Stabilization activation switch
- Disconnect power
- Insert bind plug to channel 5
- Hold the C button
- Connect power. Wait for about 1 second until the 6 LEDs flash.
- Release the C button
- Press C to make changes within 3 seconds. Green = CH7, Blue = CH5.
- Wait for 3 seconds and remove the bind plug
Wing Mode and Dual Aileron
- Disconnect power
- Insert bind plug to channel 6
- Hold the C button
- Connect power. Wait for about 1 second until the 6 LEDs flash
- Check the receiver label/user manual to understand the referred LEDs' operation
- Release the C button
- Observe which red LED is flashing and brief press C to select the required mode
- Press C to toggle between settings. On means selected. Exit automatically in 5 seconds.
- Wait for 3 seconds and remove the bind plug
- Ensure transmitter mixing is set accordingly for dual aileron if stabilized dual aileron is to be configured.
Gyro direction
- Check the receiver label/user manual to understand the referred LEDs' operation
- Connect power and wait 1 second
- Hold the C button and wait for about 1 second until the 6 LEDs flash
- Release the C button
- Observe which red LED is flashing and brief press C to select the required mode
- Press C to toggle between settings. On means selected. Exit automatically in 5 seconds.
- Wait for 3 seconds and remove the bind plug.
V/I sensor calibration
- Turn on the receiver and transmitter. The telemetry report page may optionally be checked during and after calibration.
- Plug the V/I sensor. Make sure the required DC loading device such as a brushless motor with ESC as well as the current and voltage meter is connected.
- Press the F and B buttons together at the same time for 2 seconds but no greater than 5 seconds
- Observe 3 green LED flashes. Ensure 8.4V is provided to the V/I sensor.
- Press F or C button briefly
- Observe 3 red LED flashes
- Turn on the DC loading device by throttling the transmitter. Ensure 4A is drawing across the V/I sensor. Be careful with the motor spinning if it is to be used.
- Press the B button to save and exit.
Voltage Probe calibration
- Turn on the receiver and transmitter. The telemetry report page may optionally be checked during and after calibration.
- Plug the voltage probe into the receiver.
- Press the F and B buttons together at the same time for 2 seconds but no greater than 5 seconds
- Observe 3 green LED flashes. Ensure 8.4V is provided to the voltage probe sensor. A fully charged 2S LiPo is very close to 8.4V and may be used.
- Press F or C button briefly
- Observe 3 red LED flashes
- Press the B button to save and exit.
Gain setting
- Adjust via the 3 dials or real-time master gain on channel 8 depending on the transmitter channel's availability.
View setting LEDs with all on
- Press the C button briefly (no more than 2 seconds).
Write a Review
Lemon RX
Lemon RX DSMP 7-CH Telemetry Stabilizer Receiver (DSMX/DSM2 Compatible)